


Installing the Water Filter System
Before diving into the installation, gather all necessary tools and components. Ensure you have the filter system, appropriate piping, and any additional fittings based on your home’s plumbing specifications. It is advisable to read through the manufacturer’s instructions thoroughly to familiarize yourself with the specific requirements of your model. Preparing your workspace by clearing the area and setting out your tools will make the installation process smoother.
Begin by shutting off the main water supply to your house. This step is crucial to prevent any leaks or water damage while installing the system. Next, determine the best location for the filter system. It should be close enough to the main water line for easy access but also in a space where maintenance can be performed without hassle. Once you have identified the location, proceed with marking and cutting the necessary pipes to make room for the filter connections.
Step-by-Step Installation Process
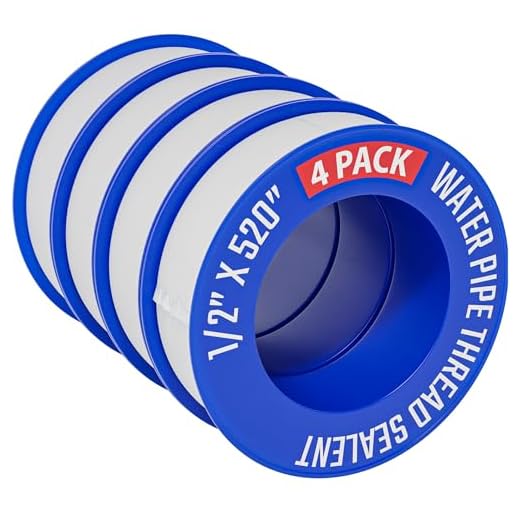
Before starting the installation, gather all necessary tools and materials, including a wrench, pipe cutter, and Teflon tape. Begin by turning off the main water supply to your home. Drain the existing plumbing by opening taps and flushing toilets. Once the system is ready, choose an appropriate location for the filter. This area should be easily accessible for maintenance, ideally close to where the main water line enters the house.
Next, carefully cut the main water line and install the provided inlet and outlet connections. Ensure all fittings are secured before applying Teflon tape to threaded areas for a watertight seal. Follow the manufacturer’s instructions to attach the filter unit to the plumbing system. Once everything is in place, turn the water supply back on gradually. Inspect for leaks during this initial flow and make necessary adjustments if any issues are detected.
Connecting the System to Your Plumbing
When connecting the water filter system to your plumbing, it is important to identify the inlet and outlet connections. These connections ensure that water flows properly through the filtration unit. Typically, the inlet is where water enters the system, while the outlet directs filtered water back into your home’s plumbing. Familiarize yourself with the specific configuration of your filter to avoid any mistakes during installation.
Before making the final connections, prepare the plumbing by shutting off the main water supply and releasing any residual pressure. This step helps prevent leaks and ensures a smoother installation process. Gasket seals or Teflon tape may be used to secure threaded connections tightly, minimizing the risk of leaks. After securing all connections, turn the water supply back on slowly and check for any signs of leaks around the fittings. Properly connecting the system is crucial for optimal performance and longevity of your water filter.
Understanding Inlet and Outlet Connections
Every whole house water filter system has specific inlet and outlet connections that must be properly aligned with your home’s plumbing. The inlet connection is where the unfiltered water enters the system, while the outlet connection is where the clean, filtered water exits to supply your faucets, appliances, and fixtures. Understanding these connections is crucial for a successful installation. Often, these connections are marked clearly on the system, helping you identify where each line should be attached.
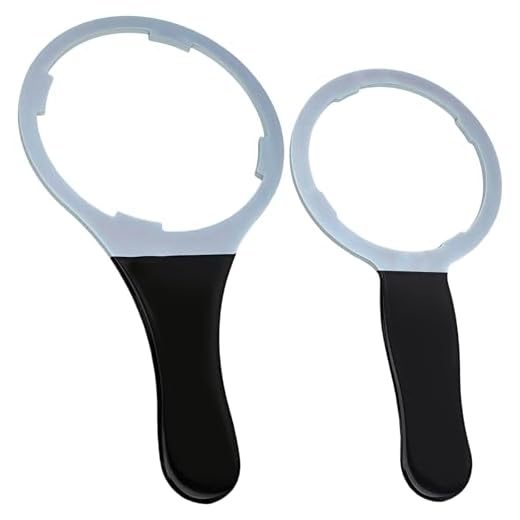
You may encounter different types of fittings based on your plumbing materials and the filter system design. Common connection types include threaded, slip, and compression fittings. Assess your existing plumbing to determine the appropriate connections needed. Tools such as pipe wrenches and adjustable pliers can assist in making secure attachments. Ensure that all connections are tight to avoid any leaks that could compromise the system’s efficiency.
Testing the System After Installation
After completing the installation of your whole house water filter system, it is essential to ensure that everything operates smoothly. Begin by checking for any leaks at the connections and fittings. Turn on the main water supply and inspect each joint closely. Address any signs of moisture or dripping immediately to prevent future issues.
Next, test the water flow from the taps in various areas of the house. This helps confirm that the filter is effectively managing the water pressure throughout the system. Utilize a flow rate measuring device if available. Additionally, check the quality of the water by filling a glass and observing clarity and odor. This step verifies that the filter is functioning correctly and delivering clean, safe water.
Ensuring Proper Functionality and Flow Rate
After installation, it is crucial to verify that the water filter system functions as intended. Begin by turning on the main water supply and checking for any leaks around the connections. Pay attention to the water flow; it should be consistent and at the expected rate. If there are any visible drips or unexpected noises, address them immediately to prevent further issues.
Next, monitor the water quality for a few days. Test the water for clarity and taste to ensure the filter is effectively removing contaminants. It may also be helpful to utilize a water testing kit to evaluate specific impurities. Consistent flow rates and improved water quality will indicate that the system is working correctly.
FAQS
What tools do I need to install a whole house water filter system?
You will typically need a wrench, pipe cutters, Teflon tape, a screwdriver, and a bucket to catch any water spills during the installation process.
How long does it take to install a whole house water filter system?
The installation process usually takes between 2 to 4 hours, depending on your plumbing setup and your experience with DIY projects.
Can I install a whole house water filter system myself, or should I hire a plumber?
While many homeowners can install a whole house water filter system themselves with proper instructions, hiring a plumber is recommended if you are uncomfortable with plumbing work or if your system requires complex modifications.
How do I know what size water filter system I need for my house?
The size of the water filter system you need depends on your household’s water usage and the number of bathrooms. Check the manufacturer’s specifications and consult with a professional if you’re unsure.
How often do I need to replace the filters in my whole house water filter system?
Filter replacement frequency varies based on water quality and usage, but generally, you should check the filters every 6 to 12 months and replace them as needed. Always refer to the manufacturer’s guidelines for specific recommendations.
Related Links
How to Choose the Right Whole House Water Filter for Your Home
Roundup of the Best Whole House Water Filters Available Today