


Connecting the Water Source
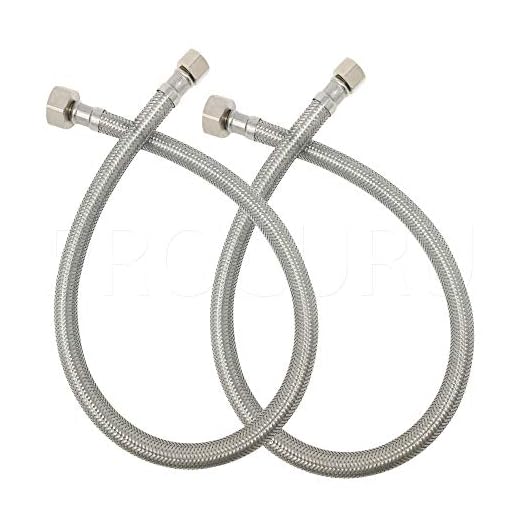
Begin by identifying the appropriate water supply for your ceramic filter system. Ensure the water source is clean, reliable, and within the guidelines set by the filter manufacturer. This could include household plumbing, a rainwater collection system, or even a dedicated well. Take care to gather all necessary components such as hoses or connectors, as well as any additional fittings that may be required to establish a seamless connection.
Once you have settled on the water source, prepare for the installation by making sure any existing connections are secure and free from any blockages. If using a hose, check for wear or damage throughout its length. It may be helpful to use a wrench to tighten connections firmly without overdoing it, as excessive force can cause damage. After ensuring all components are in good condition, proceed with connecting the water source to the ceramic filter unit following the manufacturer’s guidelines.

Ensuring Proper Water Supply Setup
A reliable water supply is crucial for the effective operation of a ceramic water filter. Begin by identifying the source of water that will feed into the filter. This source should be potable and free from harmful contaminants. In some instances, additional pre-filtration may be necessary, especially if the water comes from a well or other untreated source. Ensure the incoming pipe or hose is securely attached; any loose connections can lead to leaks and compromise the efficiency of the filter.
Next, check the flow rate of the water entering the system. A consistent and adequate flow ensures that the filter can effectively purify the water without becoming overwhelmed. If the flow is too fast, consider using a pressure regulator to maintain optimal performance. Testing the setup before proceeding with the installation helps identify any issues early, minimizing potential complications during the filtering process. Regular monitoring of the supply system will contribute to the overall longevity and functionality of the ceramic filter.
Installing the Filter Unit
Begin by selecting a stable and level surface for placing the filter unit. Ensure that the chosen location is proximity to the water source while allowing easy access for maintenance. If the filter has a base or stand, securely fasten it to prevent any movement during operation. Position the unit so that it is easy to reach for any necessary adjustments or inspections.
Next, connect the water source to the input side of the filter using the appropriate tubing or adapters. Tighten all connections firmly to avoid leaks. Check that the flow direction is correct, typically indicated by an arrow on the filter unit. Once connected, ensure that the filter sits straight and stable. Inspect alignment with the water supply plumbing to prevent strain on any joints, which could lead to issues later on.
Techniques for Secure Installation
When installing a ceramic water filter, ensuring a tight and secure fit is critical. Begin by selecting a flat, stable surface for the filter unit. Use appropriate mounting brackets or screws designed for the specific model of the filter. These components should be included in the packaging or can be obtained individually. Align the filter unit accurately with the water source and any other connected pipes to facilitate a seamless flow of water. Employ a level to verify that the unit is installed straight, preventing any potential imbalances that could lead to future leaks or issues.
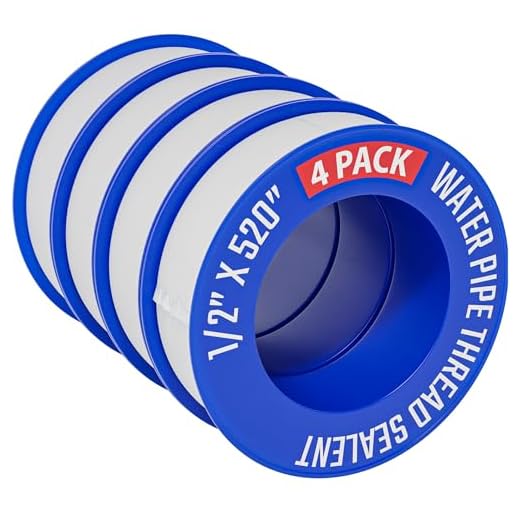
After securing the filter in place, it is important to double-check all connections. Tighten any fittings to manufacturer specifications, ensuring that they are snug but not over-tightened, which could cause damage. Utilize plumber’s tape on threaded connections to enhance sealing and prevent leaks. Once all components are fastened, perform a visual inspection to confirm that there are no gaps or misalignments. Ultimately, these steps contribute significantly to the longevity and efficiency of the ceramic water filter system.
Testing for Leaks and Functionality
After installation, it is crucial to test the system for any potential leaks. This can be done by running water through the filter for a short period. Observe all connections and fittings for any signs of dripping or moisture. If leaks are detected, they should be addressed immediately. Tightening fittings or replacing faulty components may be necessary to ensure a proper seal.
Functionality testing is equally important once you have confirmed there are no leaks. Allow the water to flow through the filter until it reaches the desired clarity. Taste the water to ensure it meets your preferences regarding purity and quality. If the taste or appearance is unsatisfactory, further adjustments might be needed, such as cleaning or recalibrating the system.
Ensuring a Safe and Effective Setup
It is crucial to conduct a thorough inspection of the installation area to ensure safety. Start by examining all connections for any signs of wear or irregularities. Ensure that the filter unit is securely mounted and free from vibrations that could lead to disconnections or damage over time. Check that the space is well-ventilated to avoid moisture buildup, which can promote mold growth around the unit. Proper drainage should also be in place to handle any overflow or spills efficiently.
After completing the installation, testing the system becomes essential for confirming its effectiveness. Turn on the water supply and carefully observe all connections for leaks. Monitor the flow of water through the filter to ensure it is functioning properly. It’s advisable to collect the first few liters of filtered water for additional testing, ensuring it meets safety standards for consumption. Regular check-ups on the filter’s performance will help maintain a reliable water supply in the long term.
FAQS
What tools do I need to install a ceramic water filter?
To install a ceramic water filter, you typically need a wrench, pliers, a level, and sometimes a screwdriver, depending on the specific model. Additionally, having a bucket or a towel on hand can help with any spills during installation.
How do I connect the water source to the filter?
To connect the water source to the filter, ensure that the water supply line is clean and free of debris. Use appropriate fittings to securely connect the line to the inlet of the filter unit, ensuring that all connections are tight to prevent leaks.
How can I ensure that the filter is installed securely?
To ensure secure installation, follow the manufacturer’s instructions carefully. Use a level to confirm that the filter is even, and check that all fittings are tightened properly. If necessary, use additional mounting hardware for extra stability.
What should I do if I find a leak after installation?
If you discover a leak after installation, first turn off the water supply. Check all connections for tightness and ensure that seals or gaskets are in good condition. If the leak persists, disassemble the connection and reapply plumber’s tape or replace any damaged components.
How do I test the ceramic water filter for functionality?
To test the ceramic water filter for functionality, turn on the water supply and observe the flow. Check for any signs of leaks around fittings. Additionally, you can run water through the filter and collect a sample to test its clarity and taste, ensuring that it effectively removes contaminants.
Related Links
What Are the Advantages of Using Ceramic Water Filters
How to Choose the Right Ceramic Water Filter for Your Home